How to Create Teams and Manage Repository Permissions in GitHub Organizations
Managing permissions in a GitHub organization is essential for maintaining security and fostering effective collaboration. By organizing members into teams and assigning appropriate permissions to repositories, you can streamline your workflow and ensure that each member has the access they need. This guide will walk you through creating teams and managing their permissions in a GitHub organization.
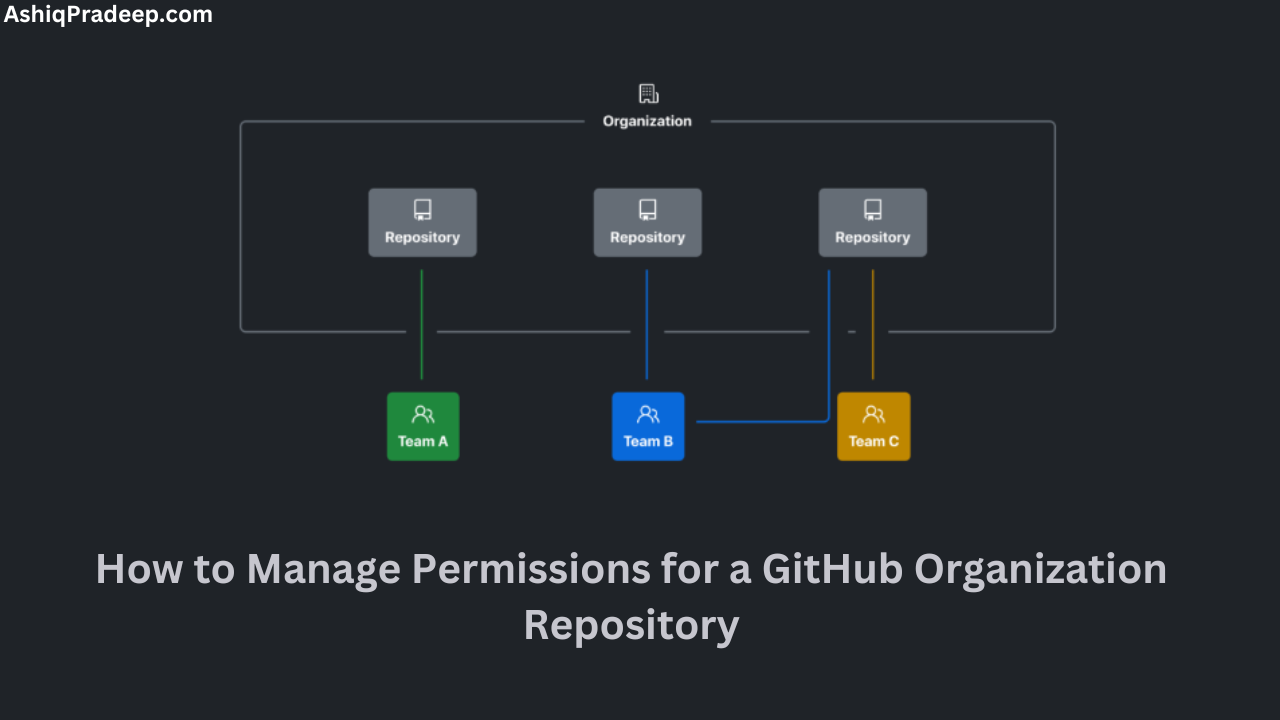
Why Use Teams in GitHub Organizations?
Teams in GitHub organizations help you:
- Organize members based on their roles or projects.
- Control access to repositories efficiently.
- Simplify permissions management by grouping users.
Step-by-Step Guide to Creating Teams
- Navigate to Your Organization:
- Log in to GitHub and go to your profile.
- Click on your organization’s name under “Organizations”.
- Access the Teams Section:
- In the organization’s dashboard, click on the “Teams” tab.
- Create a New Team:
- Click on the “New team” button.
- Fill in the team name and description.
- Set the team’s visibility:
- Secret: Only visible to team members.
- Visible: Visible to all organization members.
- Click “Create team”.
Adding Members to a Team
- Go to the Team’s Page:
- From the “Teams” tab, click on the team you just created.
- Add Members:
- Click “Add a member”.
- Enter the username of the member you want to add.
- Click “Add member”.
Assigning Repository Permissions to Teams
- Access Repository Settings:
- Navigate to the repository you want to manage.
- Click on “Settings”.
- Manage Access:
- In the repository settings, click on “Manage access”.
- Click “Invite teams or people”.
- Add Team to Repository:
- Search for the team you want to add.
- Select the team and choose the level of access:
- Read: Can view the repository.
- Triage: Can manage issues and pull requests without write access.
- Write: Can contribute to the repository.
- Maintain: Can manage the repository without access to sensitive or destructive actions.
- Admin: Full access to the repository, including sensitive and destructive actions.
- Click “Add <team-name>”.
Adjusting Team Permissions
- Navigate to Repository Permissions:
- Go to the repository’s “Settings” -> “Manage access”.
- Modify Permissions:
- Click on the team’s name under “Manage access”.
- Adjust the permissions as needed.
- Click “Save changes”.
Best Practices for Managing Permissions
- Use the Principle of Least Privilege:
- Grant the minimum necessary permissions to reduce security risks.
- Regularly Review Permissions:
- Periodically check team memberships and permissions to ensure they are still appropriate.
- Utilize Secret Teams for Sensitive Projects:
- Keep teams working on confidential projects secret to limit visibility.
- Monitor Activity with Audit Logs:
- Regularly review audit logs for changes in permissions and access.
Conclusion
Creating teams and managing repository permissions in a GitHub organization allows you to maintain control, enhance security, and streamline collaboration. By following these steps and best practices, you can ensure that your projects are well-organized and that team members have the appropriate access levels to perform their tasks effectively.
For a detailed step-by-step video tutorial, watch our YouTube video here.